
When you want to insert a row in Excel, or a column, the process is easy and requires no formula – just a few clicks! This feature is useful because often, we discover that we need another row or column in the middle of a spreadsheet for it to flow correctly.
Download our example and follow the instructions to learn how to insert a row or column into Excel.
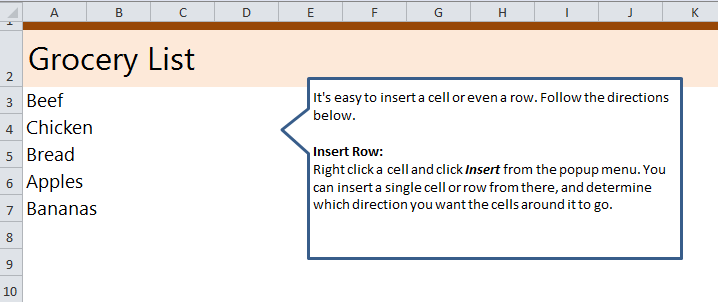
How to Insert a Row in Excel
- Download the example and view the five entries already entered.
- Right click one of the five cells.
- Choose “Insert” from the drop down menu”.
- Once the new cell appears, click the button that appears directly below it and choose if you want it above or below the cell.
- You’re finished!
When is Inserting a Row Needed?
When you’re managing a medium to large sized Excel file, chances are that at some point you’ll need to add additional information like days, clients, variables, employees, etc. Instead of manually moving everything up or down, you can simply insert an empty row and it won’t effect the surrounding information.
Want to learn more Excel? Is your goal to become an Excel Wizard, destroying all reports that stand in your path? Visit our Excel Guides section for tutorials, examples, walk-throughs, and more.
Related Templates:
- Inserting Rows and Columns in Excel
- Excel Dropdown Lists Tutorial
- How to Combine Two Names in Excel
- Calculate Day of the Year in Excel
- How to Calculate Averages in Excel
View this offer while you wait!