
How to Insert a Row or Column in an Excel Table
Creating additional rows and columns in a table in Excel is needed when you update and add data into a spreadsheet. Don’t worry, the process is simple.
Using the Excel Ribbon Tool
Select a cell where you want to modify a row or column.
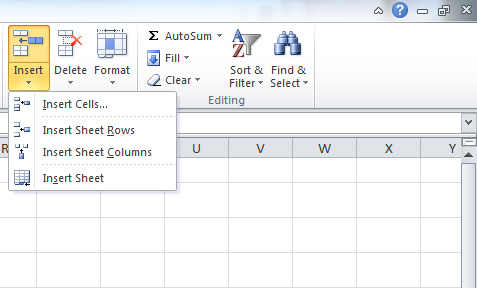
In the ribbon, find the “Insert”, “Delete”, and “Format” buttons. Click “Insert” and a menu will appear when you have chosen a cell in your table.
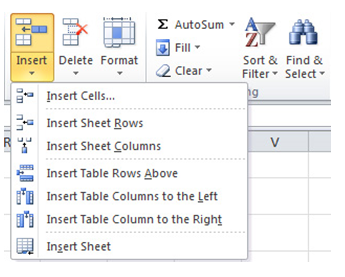
Choose what you desire from the options and a brand new column or row will then be added.
Adding and Removing Columns in Excel
This process is simple. Start by right clicking the cell you want to make a change in and this menu will appear:
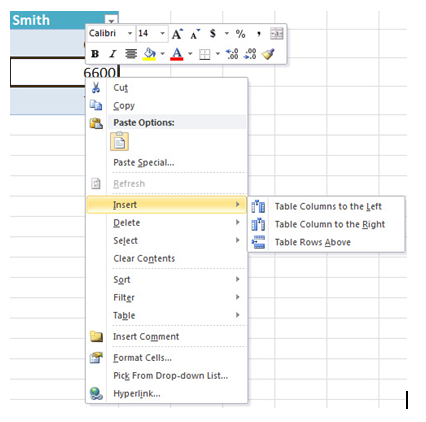
Select “Insert”, then one of the options. You can even choose delete and remove the column.
Related Templates:
- Remove Spaces Between Words in Excel
- Macros
- Insert a Row in Excel
- How to Insert Header and Footer in Excel
- Creating Pivot Tables in Excel
X
Your free template will download in 5 seconds.
View this offer while you wait!
View this offer while you wait!