
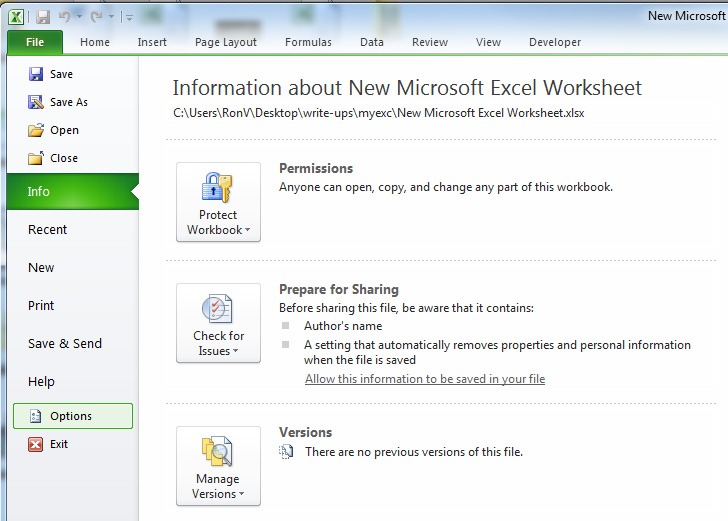
The Excel Autocorrect guide will show you how to customize your Excel spreadsheets to recognize what you type and correct anything you want. This is great for people who work in Excel consistently and may either make the same mistakes consistently, such as with capitalization, or want to customize entries. To do this, start by opening Excel and go to “File” in the corner, then choose “options”
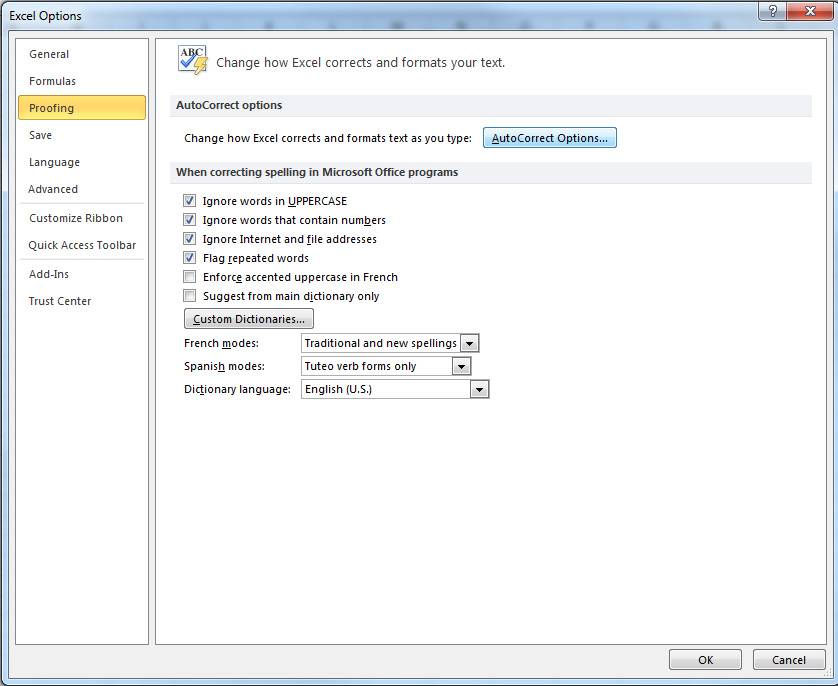
Next, click “Proofing” and find the “Autocorrect options” button located to the right.
The autocorrect options dialog box will now show. You can check or uncheck some pre-made options that are common, such as capitalization correction and a few pieces of text. You can also add your custom pieces by putting the text you usually type in the “Replace” box, and then what you prefer it look like in “With”.
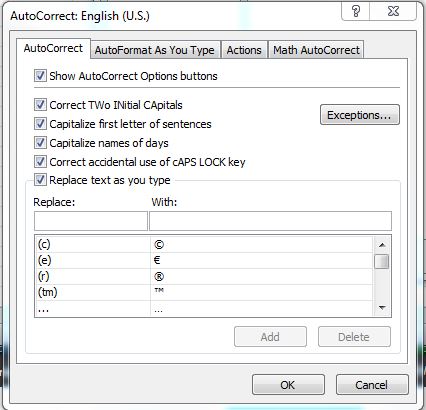
You can choose to customize your Excel autocorrect further with the Exceptions button, which allows you to enter when you don’t want Excel to correct something. You can also explore the top tabs of the dialog box to choose how the autocorrect functions as you work in Excel, or leave it as-is.
Once you have finished putting in your autocorrect preferences, be sure to click “save”. Now this will be your default for all Excel documents you open and use.
Related Templates:
- How to Put a Password on your Excel Document
- Excel Dropdown Lists Tutorial
- Split Text into Different Cells
- Conditional Formatting in Excel
- Macros
View this offer while you wait!