
Learn to split text into different cells in Excel spreadsheets with our guide. The process is usually applied to taking imported data, such as a first and last name, that is only in one column. Your goal is to split those two words (first name and last name) into new columns, one for the first name and one for the last name.
Download our example to follow along.
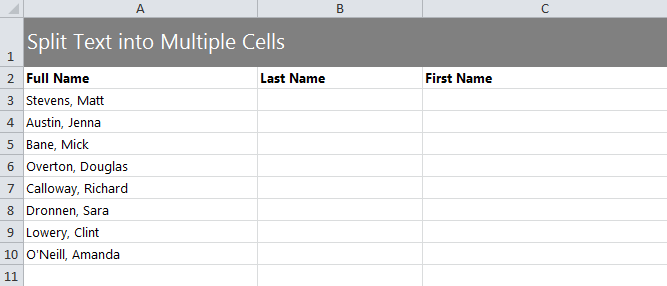
Once your spreadsheet is open, you will see that column A contains the list of full names. Columns B and C will be the split places. Start by selecting the cells that need to be split (A3 through A10).
Proceed to the top of the Excel program and click the Data tab. Next, select “Text to Columns”.
The pop-up that follows will have a place for you to select “Delimited”, then click next. This brings you to the Delimiters section where you will check mark “Comma” and “Space”. Don’t check anything else and then click next.
In step 3, select “Text” in the column data format. Follow this by clicking the button to the right of the destination textbox. Choose where you want to place the final output B and C.
Now, choose the range to you want Excel to output your data. Click the button next to the selected range, and this will wrap up this section.
Choose “Finish” in the final dialog box, and the names will now be split into first and last names for columns B and C.
Want to learn more about Excel? Check out our guides section.
Related Templates:
- Macros
- Split Full Names in Excel
- Count Cells in Excel Formula
- Highlight Rows in Excel
- How to Calculate Averages in Excel
View this offer while you wait!